How to Do a Fun Smokey Eye With the Huda Beauty Grunge Palette

Sadaf Razi is Adore Beauty's Senior Beauty Editor.
She's a former fashion editor (who worked at various glossy mags) and stylist-turned digital beauty and lifestyle writer. She has been in the lifestyle/media industry for over 10 years and her work has also been featured on international covers like Elle France and Vanity Fair Mexico.
Some of her fave Adore Beauty products include Cicaplast B5, CeraVe Cleansing Oil and Lancôme Renergie Triple Serum.
Nailing a ‘smokey eye’ look is no easy task.
A task I’m not willing to risk dabbling with and getting wrong (which I’ve admittedly done before).
My previous attempts of washing a jet black shadow over my big eyes had me looking (unceremoniously) more like a sleep-deprived owl (cute, but scary) and less ‘sexy and mysterious’ like the runway beauty looks I was trying to achieve.
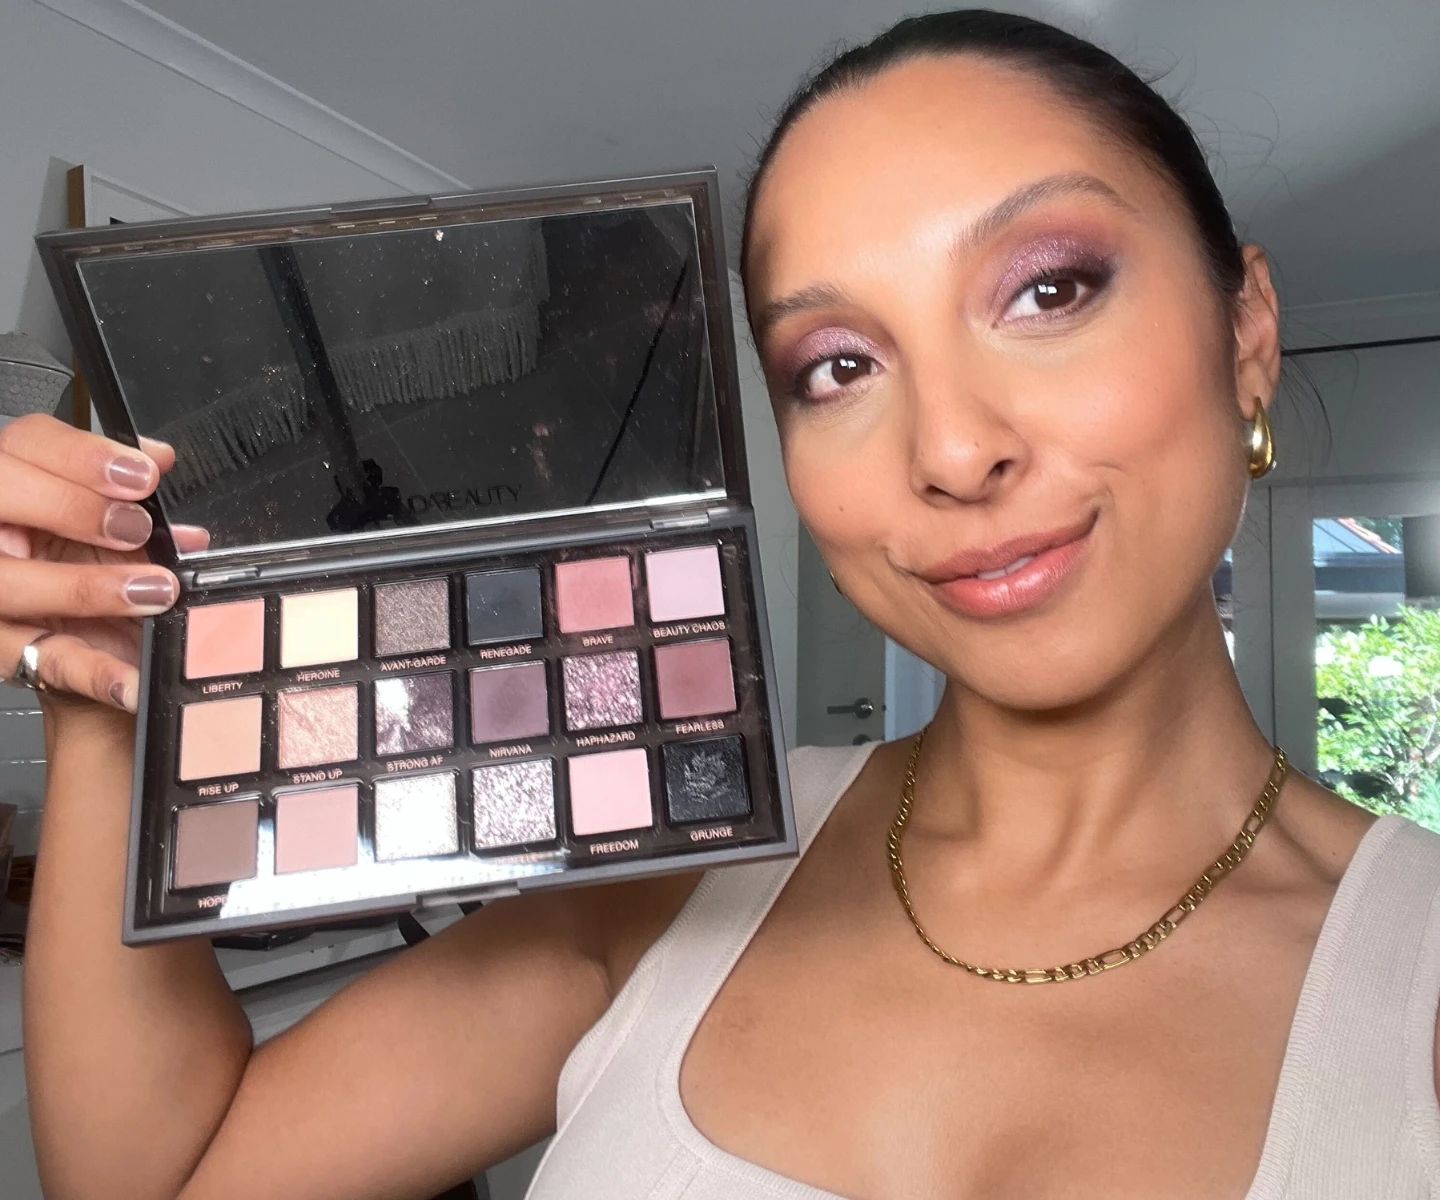
However, when the Huda Beauty Grunge palette landed on my desk, I had never wanted to attempt a smokey eye (again) more.
But I know my strengths. And using eyeshadow palettes is not one of them. I find them as intimidating as opening my superannuation letters.
So I did what any good beauty editor would do, enlisted the help of a professional makeup artist.
And lucky for me, I happen to know many!
Including Melbourne-based makeup artist @meganharrisonmakeup who I immediately called and said, “Can you please do an easy, fun smokey eye look with this amazing Huda Beauty eyeshadow palette?”
Keep scrolling to see the shades she used to bring this look to life (plus, some more ‘after dark’ essentials to keep in mind for evening occasions).
How to Do Smokey Eye Beginners.
I’m sick of the traditional smokey eye look, I prefer something that’s more playful and fun.
Especially for special after dark occasions like date night, weddings, or pretending to look confused in the long-life milk aisle on my late night grocery shop.
So how was I going to do this look on my own without having a professional makeup artist on speed dial?
I certainly don't have the wizardry blending powers of professional makeup artists, so I asked Megan to send me a short, easy-to-understand text on all the shades she used and in what order.
Here is her quick and easy step-by-step smokey eye tutorial using the Huda Beauty Grunge palette:
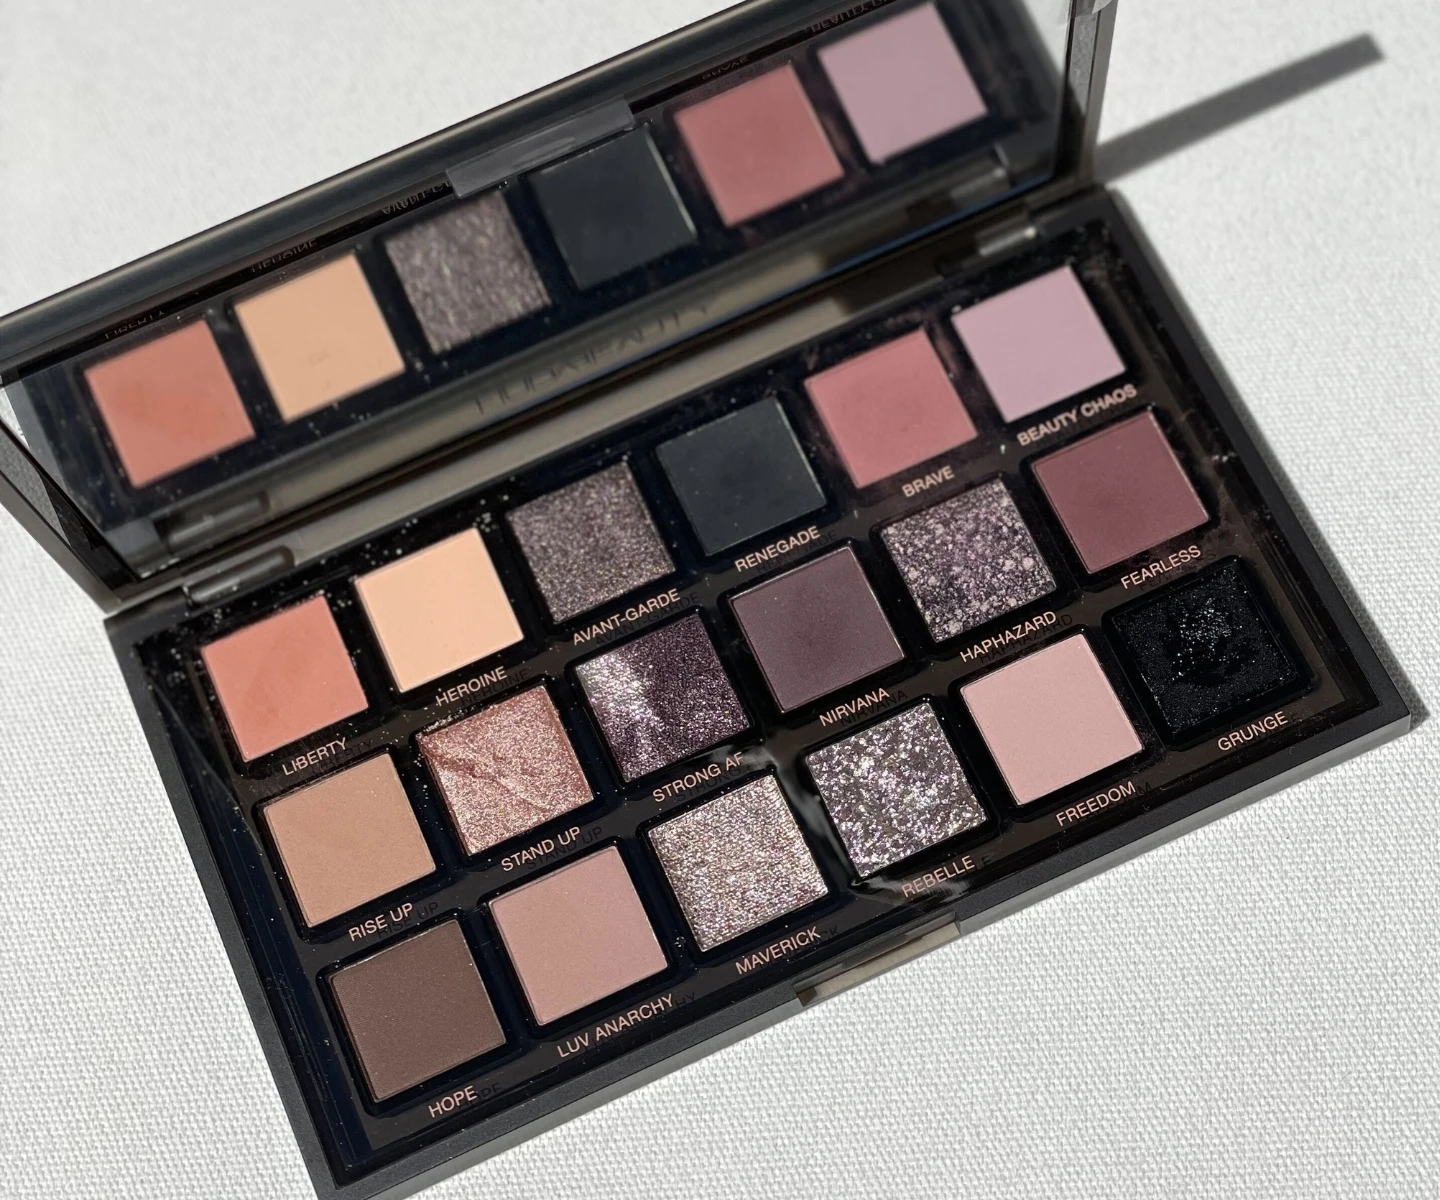
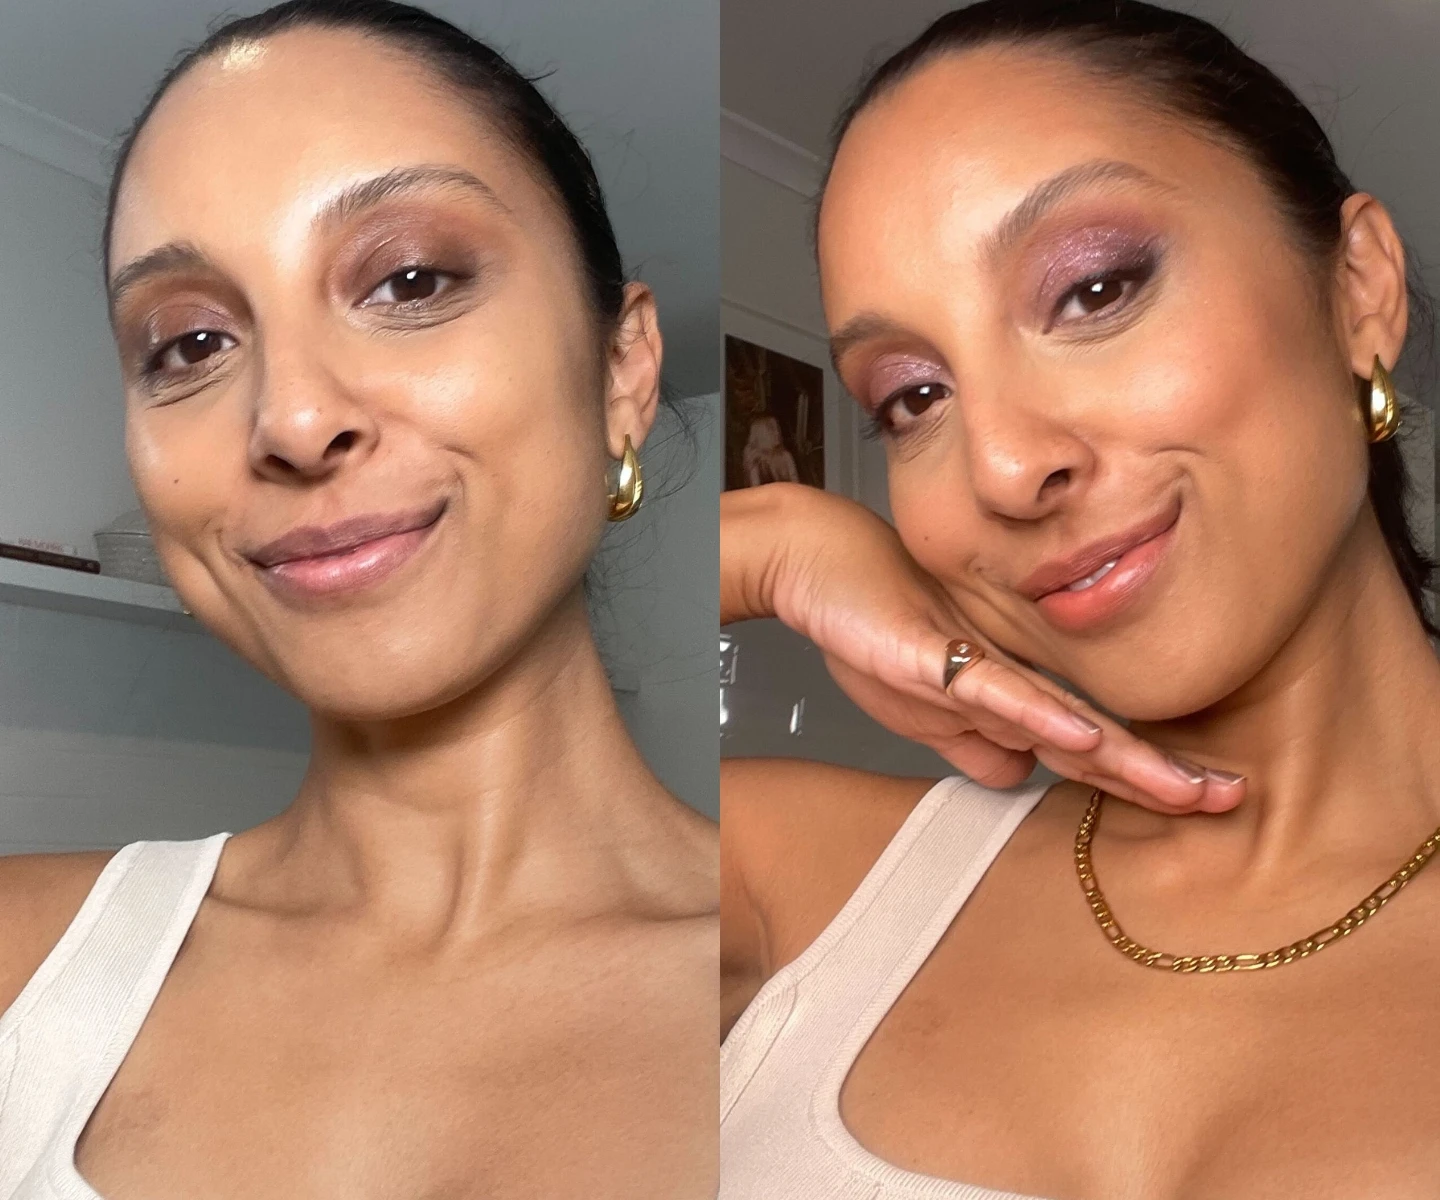
Step 1: "Use shade ‘Brave’ all over first and up into the crease."
Step 2: "Then ‘Fearless’ all over the outer corner and underneath, winging out."
Step 3: " 'Nirvana’ along the outer 3rd of upper and lower lash line, blended out."
Step 4: ‘"Apply shade 'Grunge’ as liner (it has a creamy texture) and ‘Renegade’ over the top of the liner to set."
Step 5: "Finally, ‘Rebelle’ pressed softly over the centre of the lid!"
See? Easy peasy!
When Megan first suggested purple glitter on my lids, my reply was “I haven't worn purple glitter since the ‘90s."
But the end result was an almost ombre-effect smokey eye that I couldn't stop taking selfies of.
*It needed to be immortalised for my grandkids to show them how cool I used to be (or for the days I wake up and choose: IDGAF and need a confidence boost).
Other After Dark Essentials...
I may have strategically timed this for Valentine’s Day weekend, but if you don’t subscribe to this holiday, here's a few other beauty must-haves that would be perfect for an after hours or evening-to-look-and-feel-sexy occasion.
A Sexy Scent.
While we have just as many sexy fragrances in the niche fragrance category (Nomad anyone?) sometimes when I want to feel really sexy I always go back to a more tradionally ‘sexy’ and 'rich' scent like Giorgio Armani Si and now even better, Si 'Intense'.
Even more sultry, deep and musky (but not in an overly offensive vanilla way).
A Sultry Red Lip.
Just so you guys know, I'm not sporting a sultry red lip for the patriarchy.
I'm a proud red-lip wearer because it makes me feel sexier and confident in my own skin, sometimes, even powerful!
I have taken this on my from my aunty who will even wear her fave red lip in the day time while tending to her garden, not just reserve it for evening occasions. Goals.
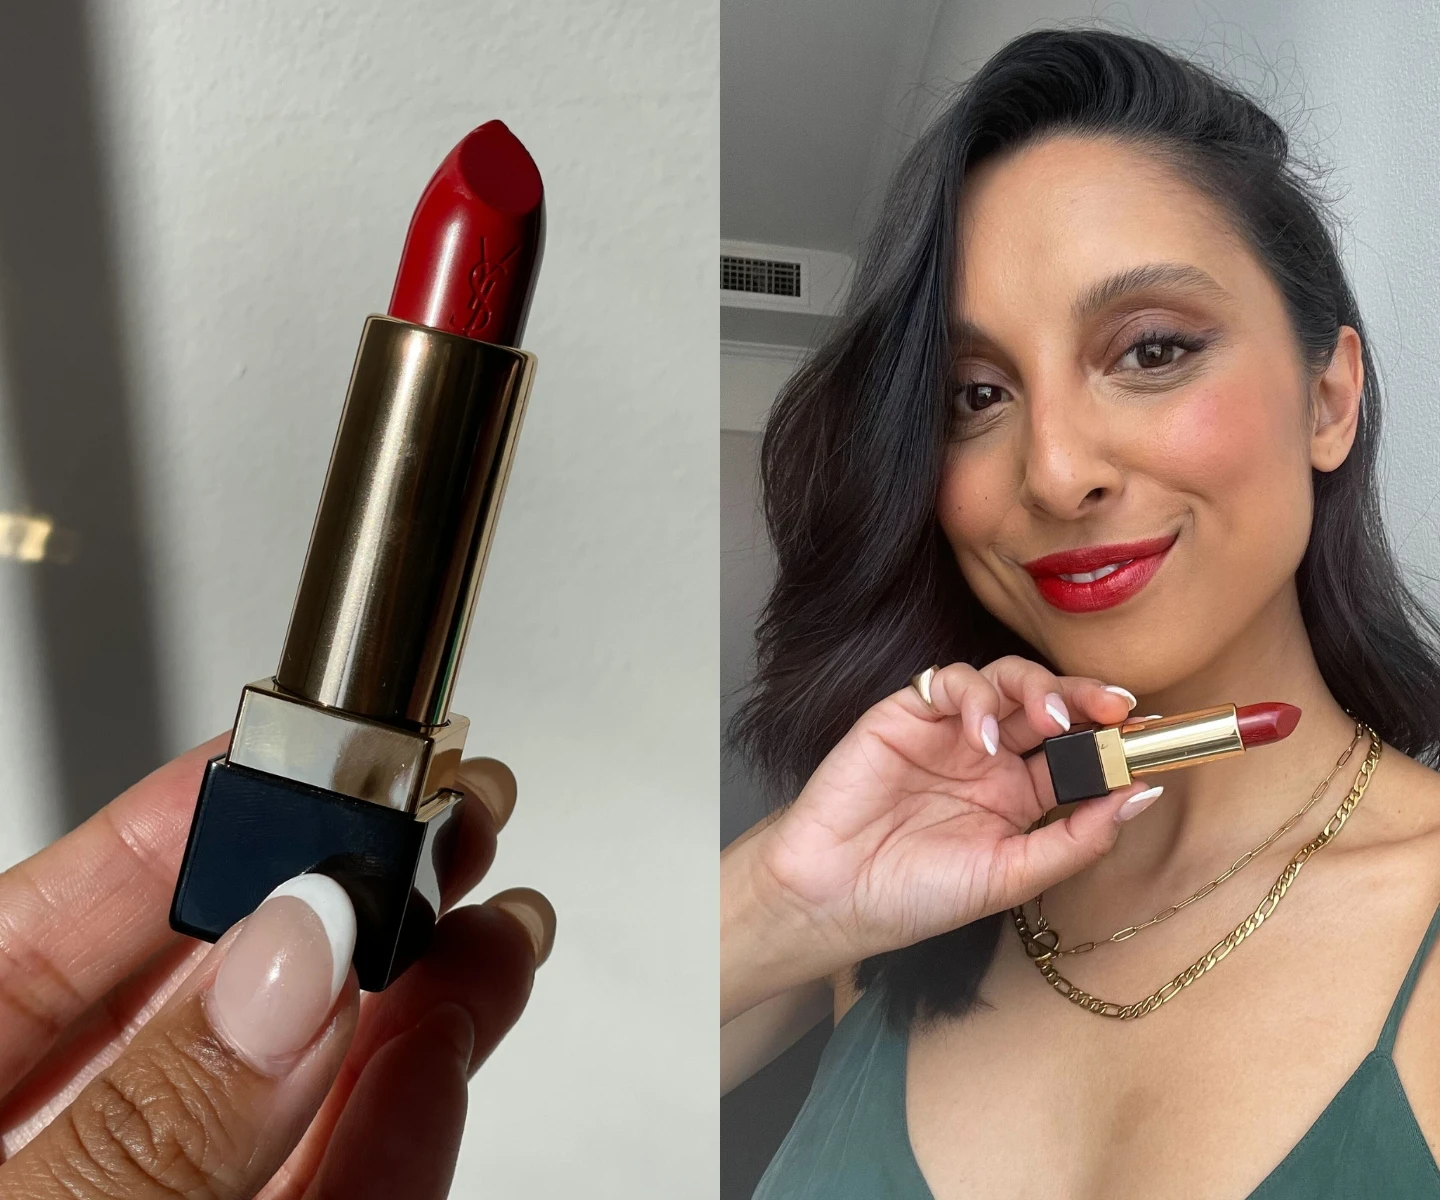
For a special after hours event that requires a lustrous finish and goes the distance, my pick is the Yves Saint Laurent Rouge Pur Couture in shade R1966 Rouge Libre.
The rich and deep intensity of the red makes it a head-turner from the moment you swipe it on.
A Fun, Sexy Nail Colour.
As someone in their thirties who is trying to save for, well, life, visiting the salon to get Build A Gel on the reg is not a luxury I can afford.
So I try to do my nails myself as much as I can.
In keeping with the ‘modern take on sexy glam’ theme, I would opt for an eye-catching metallic shade like the OPI Infinite Shine - I Mica Be Dreaming.
Amp up Shine With a Highlighter.
How many times have you gone on a date in a dark restaurant and your base looks muddy because of the very unforgiving lighting?
This is where a highlighter can help.
Of course your head-turning fun smokey eye look is the star of the show, but it doesn’t hurt if the street or venue lighting hits the high points of your cheeks.
My personal pick is the Eye Of Horus Luminous Highlighter 7.5gm in 'Sunset Rose'.
Final Thoughts...
This list could go on really, but whatever the evening or 'after dark' occasion, the Huda Beauty Grunge palette is perfect and so easy to use even for makeup novices (and definitely not as intimidating as opening up your superannuation letters).
And it's not just made for a smokey eye, the versatile shades in this palette make it universal enough for any day or night look.
Want more Huda Beauty? Check out these Beauty IQs: