Short Hair Stories: Three Easy Styles for Special Occasions This Festive Season

Jas is the former Senior Content Specialist at Adore Beauty. A beauty admirer turned certified addict, she brings a sharp editorial eye and pop-culture pulse to everything she creates. Her words have appeared in The Age, Sydney Morning Herald, and Broadsheet. When she’s not producing viral content or podcasting about skincare, you’ll find her thrifting for vintage treasures or binging Bravo (strictly for research, of course).
Lately, I’ve set myself the challenge of trying new things.
Which—for someone who lives her life by to-do lists and sends her friends calendar invites for catch-ups—isn’t always easy.
I’ve started going to the gym (figured it was about time to see what all the fuss is about), wearing clothes that actually fit me and aren't oversized and, more recently, putting my hair up.
If you’ve been following along at home, I’ve been growing my hair for a while now. Freeing myself from my safe bob bubble to allow my locks to grow beyond… my shoulders. Gasp!
Setting aside my beloved snatched bun (oh, how effortless she is), I had long avoided updos.
It wasn’t just the challenge of keeping every strand in place with an army of bobby pins; it was also the frustration of finding styles that actually worked on my short hair.
Then, one day, my social media algorithm read my mind.
There they were: cool TikTok girlies flaunting even cooler updos, tailor-made for short hair.
After I thanked the beauty lords for bringing the mighty bob back, I began saving them for a rainy day.
And today, my friends, it is that rainy day. (Figuratively speaking, of course.)
Below, I share three easy short hair updos that are perfect for parties, events, festivals, or any time you crave the feeling of a cool breeze on your neck.
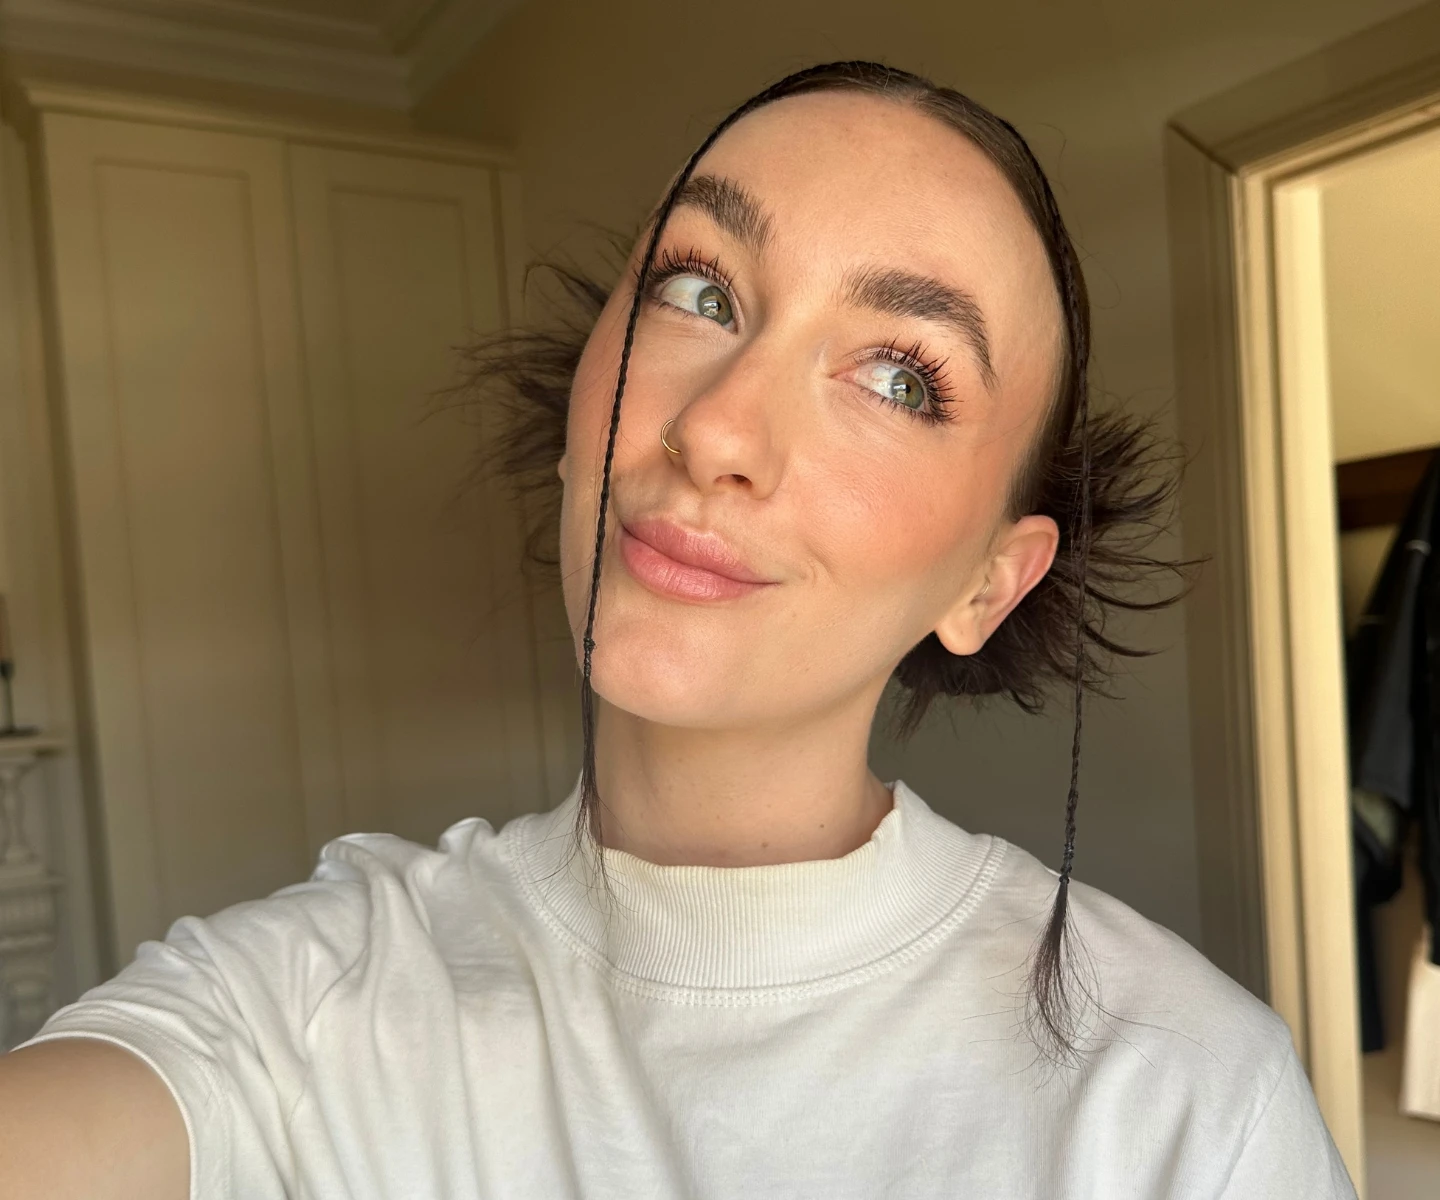
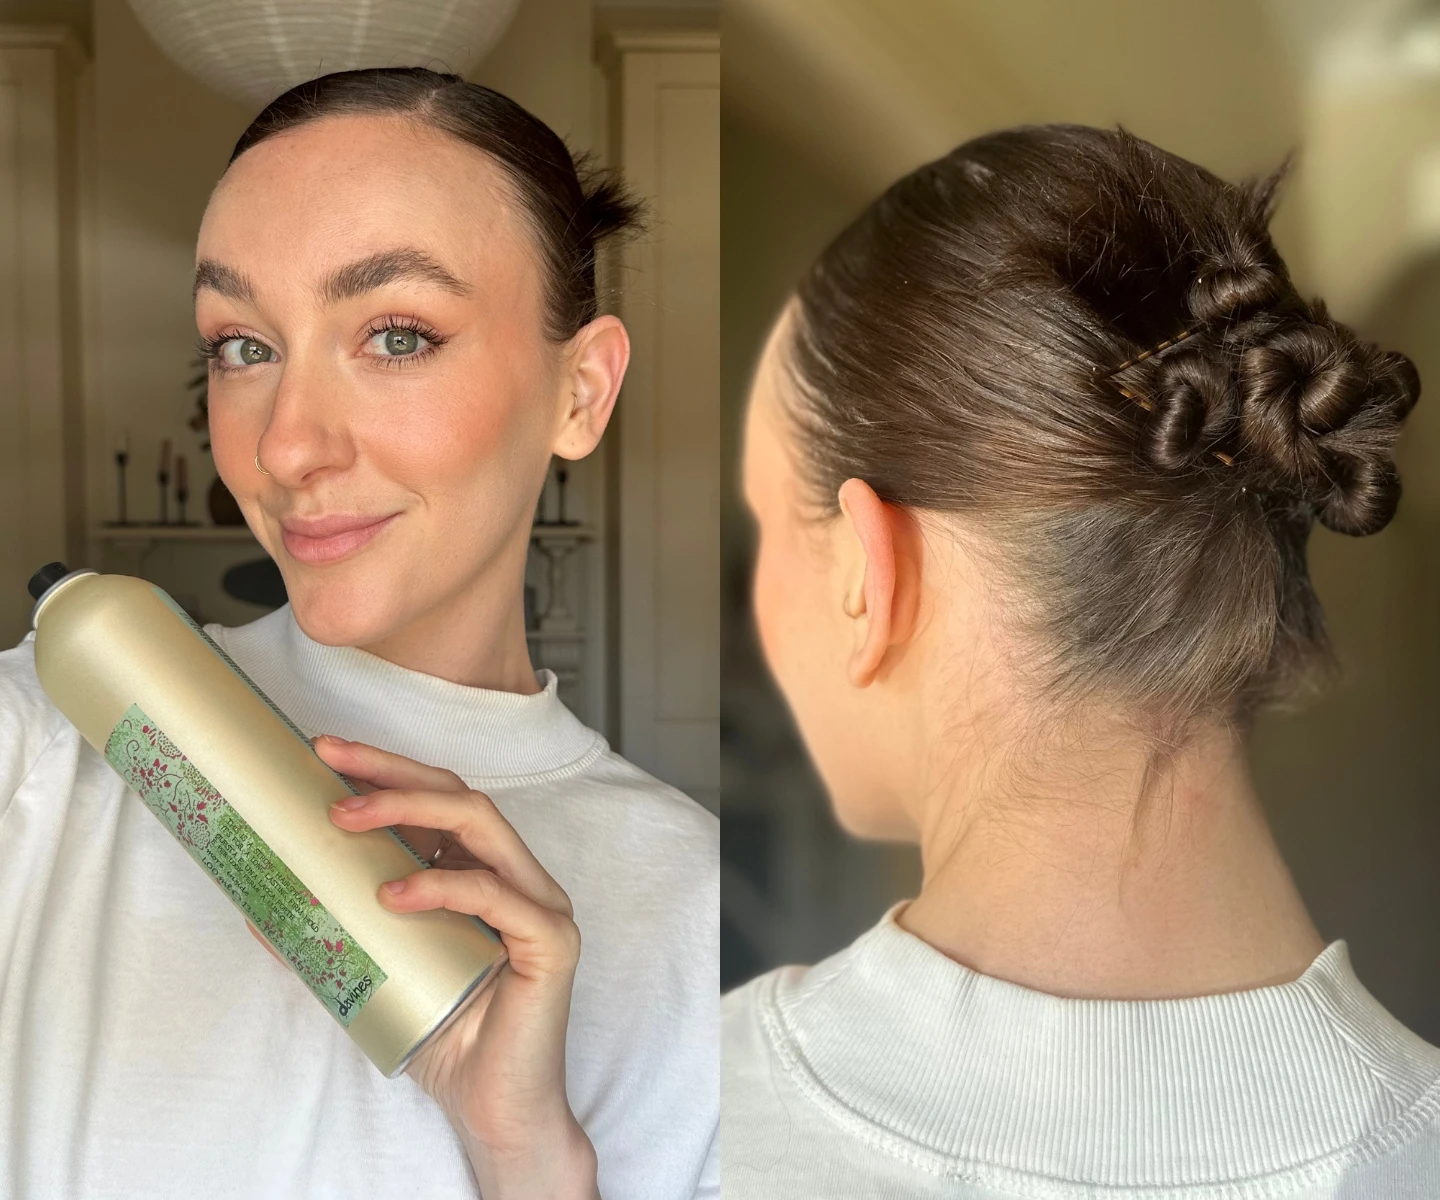
Twist-Knot Bun.
This first look I actually owe to the very talented stylists at my hair salon, who transformed my shoulder-length hair into this nineties-inspired look for an event just last week.
This chic style, once a mystery on my social media feeds, will now be my go-to for parties, dinners and occasions that demand a touch of sophistication.
It’s a refined upgrade from my signature sleek bun that appears far more intricate than it actually is.
But the best part IMO is the ‘snatch’ effect that makes your face and features look more sculpted. However, a word of caution, this level of perfection can come with a price - a not-so-cute headache.
So, my advice: keep that emotional support water bottle close, my friends.
For this look, gather your essentials: hair ties, bobby pins, a comb, a brush (preferably boar-bristle), strong-hold gel/paste, hairspray (optional), and a pre-styling spray (optional).
Watch this video tutorial to see how I created it in real time:
Alternatively, here’s a step-by-step guide:
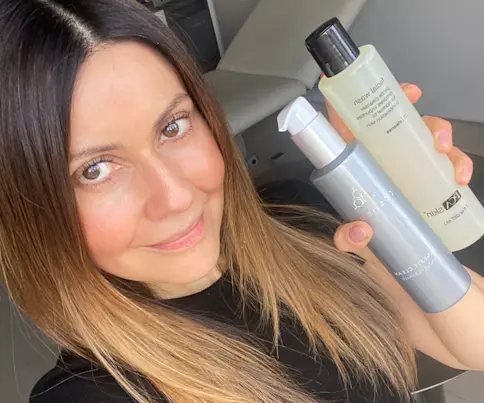
Step 1. If you’re starting with dry hair, dampen it with a pre-styling/priming spray (such as the Matrix Total Results Miracle Creator) to make it more manageable.
Step 2. Use a comb to create your preferred part. I personally love a side part for this look.
Step 3. Work a small amount of your chosen strong-hold gel, paste, or cream (I used the Davines MORE INSIDE Strong Hold Cream Gel 125ml) through your hair, using a comb to distibute it evenly.
Step 4. Brush your hair back into a ponytail and secure it with a hair tie.
Step 5. Take a small section of your ponytail at a time, and twist the hair until it's taut and starts to buckle. Carefully move the section back toward your ponytail; you’ll notice it has a natural movement to it - follow this and secure it with a bobby pin. If this sounds confusing, refer to the video tutorial for a visual guide.
Step 6. Repeat this process until your entire ponytail is secured. Finish the look with hairspray like the Davines MORE INSIDE Strong Hold Hair Spray 400g or your gel/paste for extra hold.
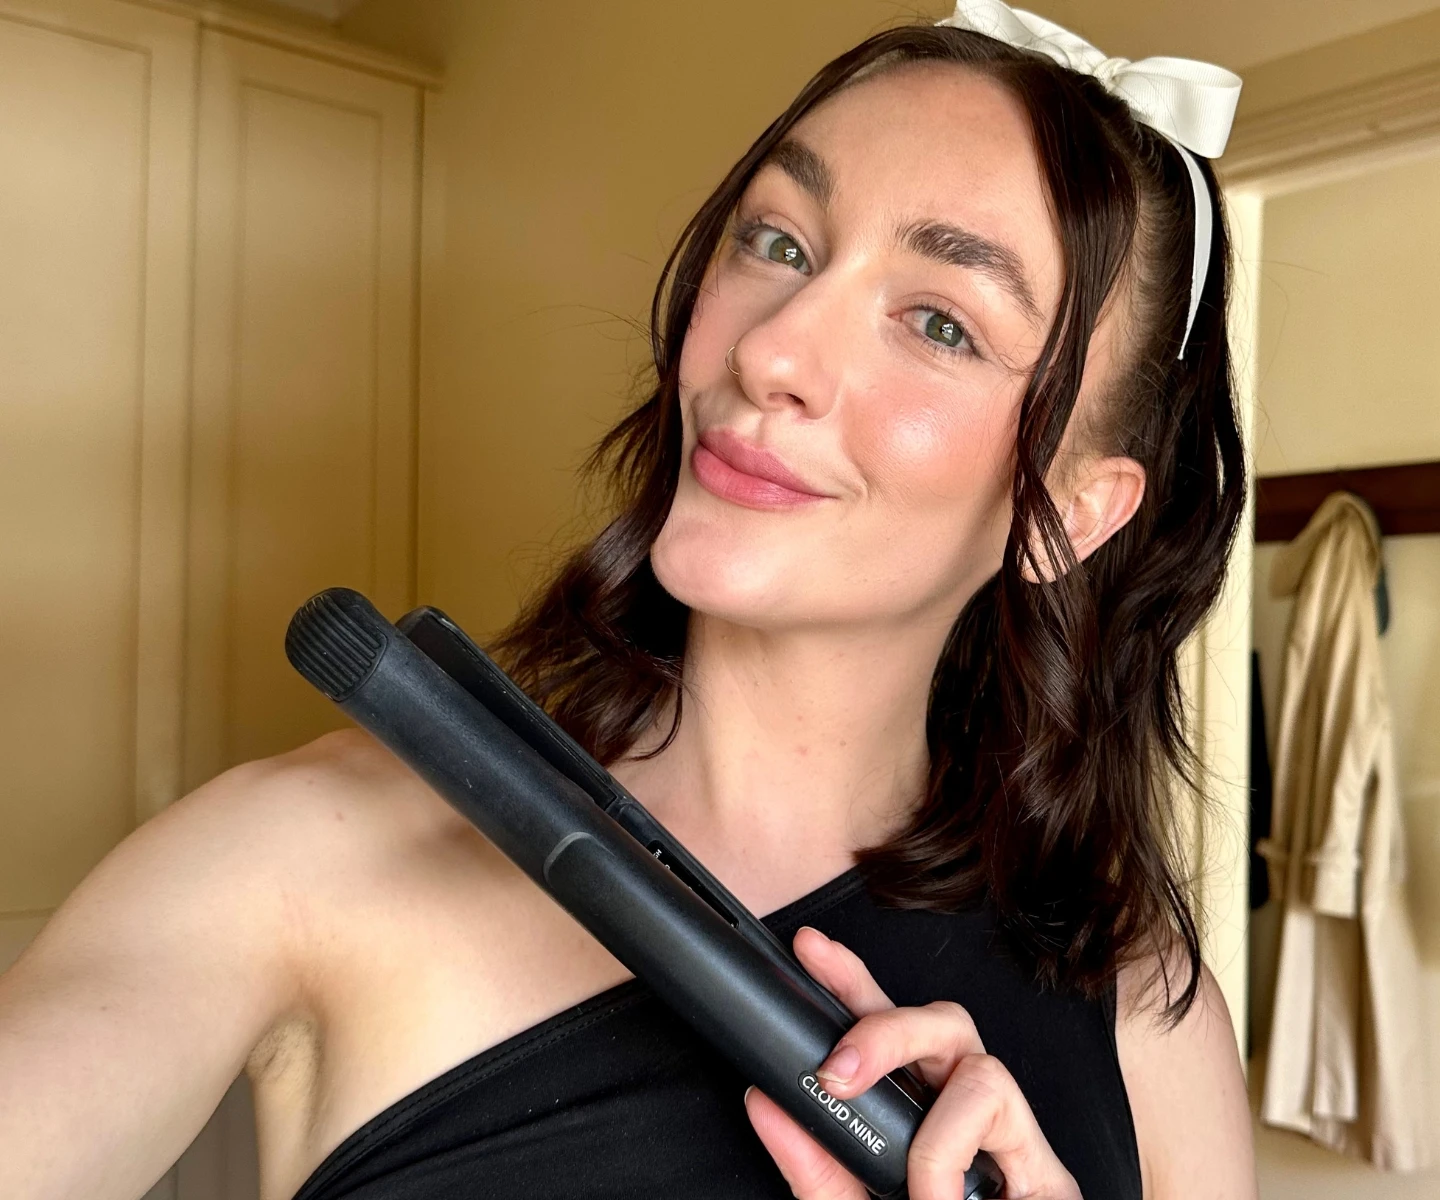
Half-up Pony.
If your calendar looks anything like mine during the festive season, washing your hair becomes a luxury.
Which is why I’m sneaking the half-up pony in here.
OK, yes it isn’t *technically* an ‘updo’, but it’s a relatively effortless way to elevate your hair without spending hours in front of the mirror.
Even better, this hairstyle embraces your locks’ natural texture and thrives on the grit of third or fourth-day hair that holds volume more easily.
The laid-back look is perfect for picnics, Sunday sips or any occasion with a ‘smart casual’ dress code.
All you need are a few basic tools: hair ties, a no-crease clip, hairbrush or comb, matte styling paste/gel, hairspray (optional), hair accessories (if you’re feeling fancy), and a hair straightener if your hair is flat as a pancake like mine.
Watch this video tutorial to see how I created it in real time:
Alternatively, follow the below:
Step 1. Apply dry shampoo to unwashed hair or texture spray (I love the NAK Hair ORI Lab Undone Texture Spray 150g to clean, dry tresses. Use a comb to remove tangles and knots.
Step 2. Use your fingers or a comb to part two strands of hair at the front. Secure them with a clip or hair tie to keep them out of your way.
Step 3. Work a small amount of styling paste or gel through your hair for texture and hold. I like to use the Davines MORE INSIDE Strong Dry Wax 75g for long-lasting hold that feels light and looks natural.
Step 4. Divide your hair horizontally into two sections: the top half and the bottom half. Secure the top section into a ponytail using a hair tie.
Pro tip: For extra volume, tease the crown area gently with a comb before securing the ponytail.
Step 5. Unclip the separated strands. With your hair straightener (mine is the CLOUD NINE The Original Iron), gently clamp it around each section, twisting it away from your face as you glide it down the hair shaft, rotating as you go. Repeat this process with the remaining section followed by the rest of your hair.
Step 6. Once all sections are complete, use your fingers to gently tousle the waves, blending them together for a seamless, natural look. Finish with a hit of hairspray. Again, my pick is the Davines MORE INSIDE Strong Hold Hair Spray 400g
Spiky Space Buns.
Last but not least, we have another nostalgic style that reminds me of how my mum would style my hair for school discos (showing my age here).
This iconic look, defined by its razor-sharp edges and ultra-sleek finish, was first made famous by the original 'IT girls' – Hilary Duff, Mandy Moore, and Alicia Silverstone in the late '90s.
Fast forward to the present, and this Y2K classic has resurfaced with a modern, edgy update, led by the likes of Bella Hadid and Dua Lipa.
It's the perfect style for hair that’s in between washes, although spiky buns work just as well on freshly cleaned tresses.
If the double bun style isn’t your vibe, you can achieve the same look with just one bun like Hadid often does.
For a more relaxed, less structured appearance, consider the half-up style. Gather only the top section of your hair into a bun, letting the rest of your locks flow freely.
Here’s what you’ll need: mini hair ties, regular hair ties, a comb, a hairbrush (preferably boar bristle like my ELEVEN Australia Round Brush in Box - Medium for a sleek finish), strong hold gel/cream, and hairspray (optional).
Watch this video tutorial to see how I created it in real time:
Here’s the rundown in writing:
Step 1. Use a comb to create your desired part. A middle part is ideal, especially when paired with two little plaits. Alternatively, double down on the '90s aesthetic with a zigzag part.
Step 2. If plaits are part of your style, section off two strands of hair at the front. Plait one section at a time and secure with a mini hair tie.
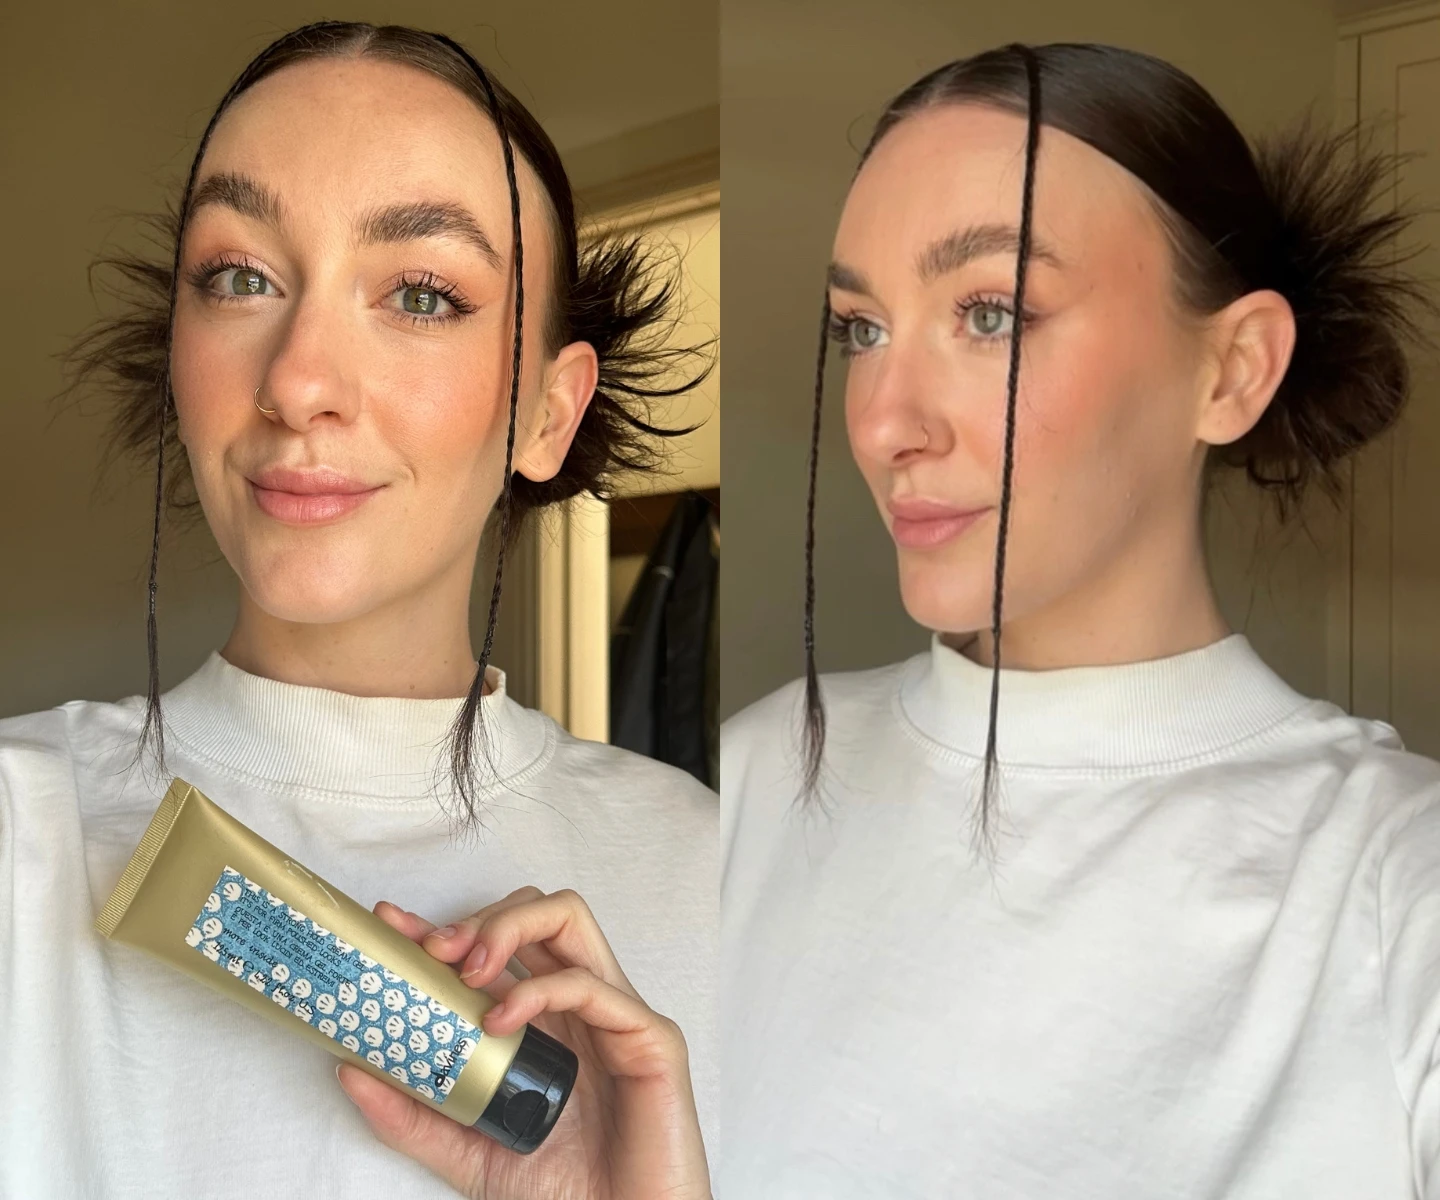
Step 3. Work a small amount of strong-hold gel or paste through your hair and plaits (I used the Davines MORE INSIDE Strong Hold Cream Gel 125ml here again too).
Step 4. Brush your hair into two ponytails and secure them with regular hair ties.
Step 5. Fold each ponytail up toward the top of your head, securing each bun with an additional hair tie. Repeat the process for your other bun.
Step 6. Adjust your buns so they're symmetrical, evenly fanned out, and at your desired height. Then, Warm a small amount of the same strong-hold gel or paste between your fingers and apply it to your fanned hair for that sharp finish.
Step 7. Finish off with additional gel and/or hairspray to keep your spiky space buns securely in place.
After more haircare tips and styles to try? Check out these Beauty IQs: